Steps
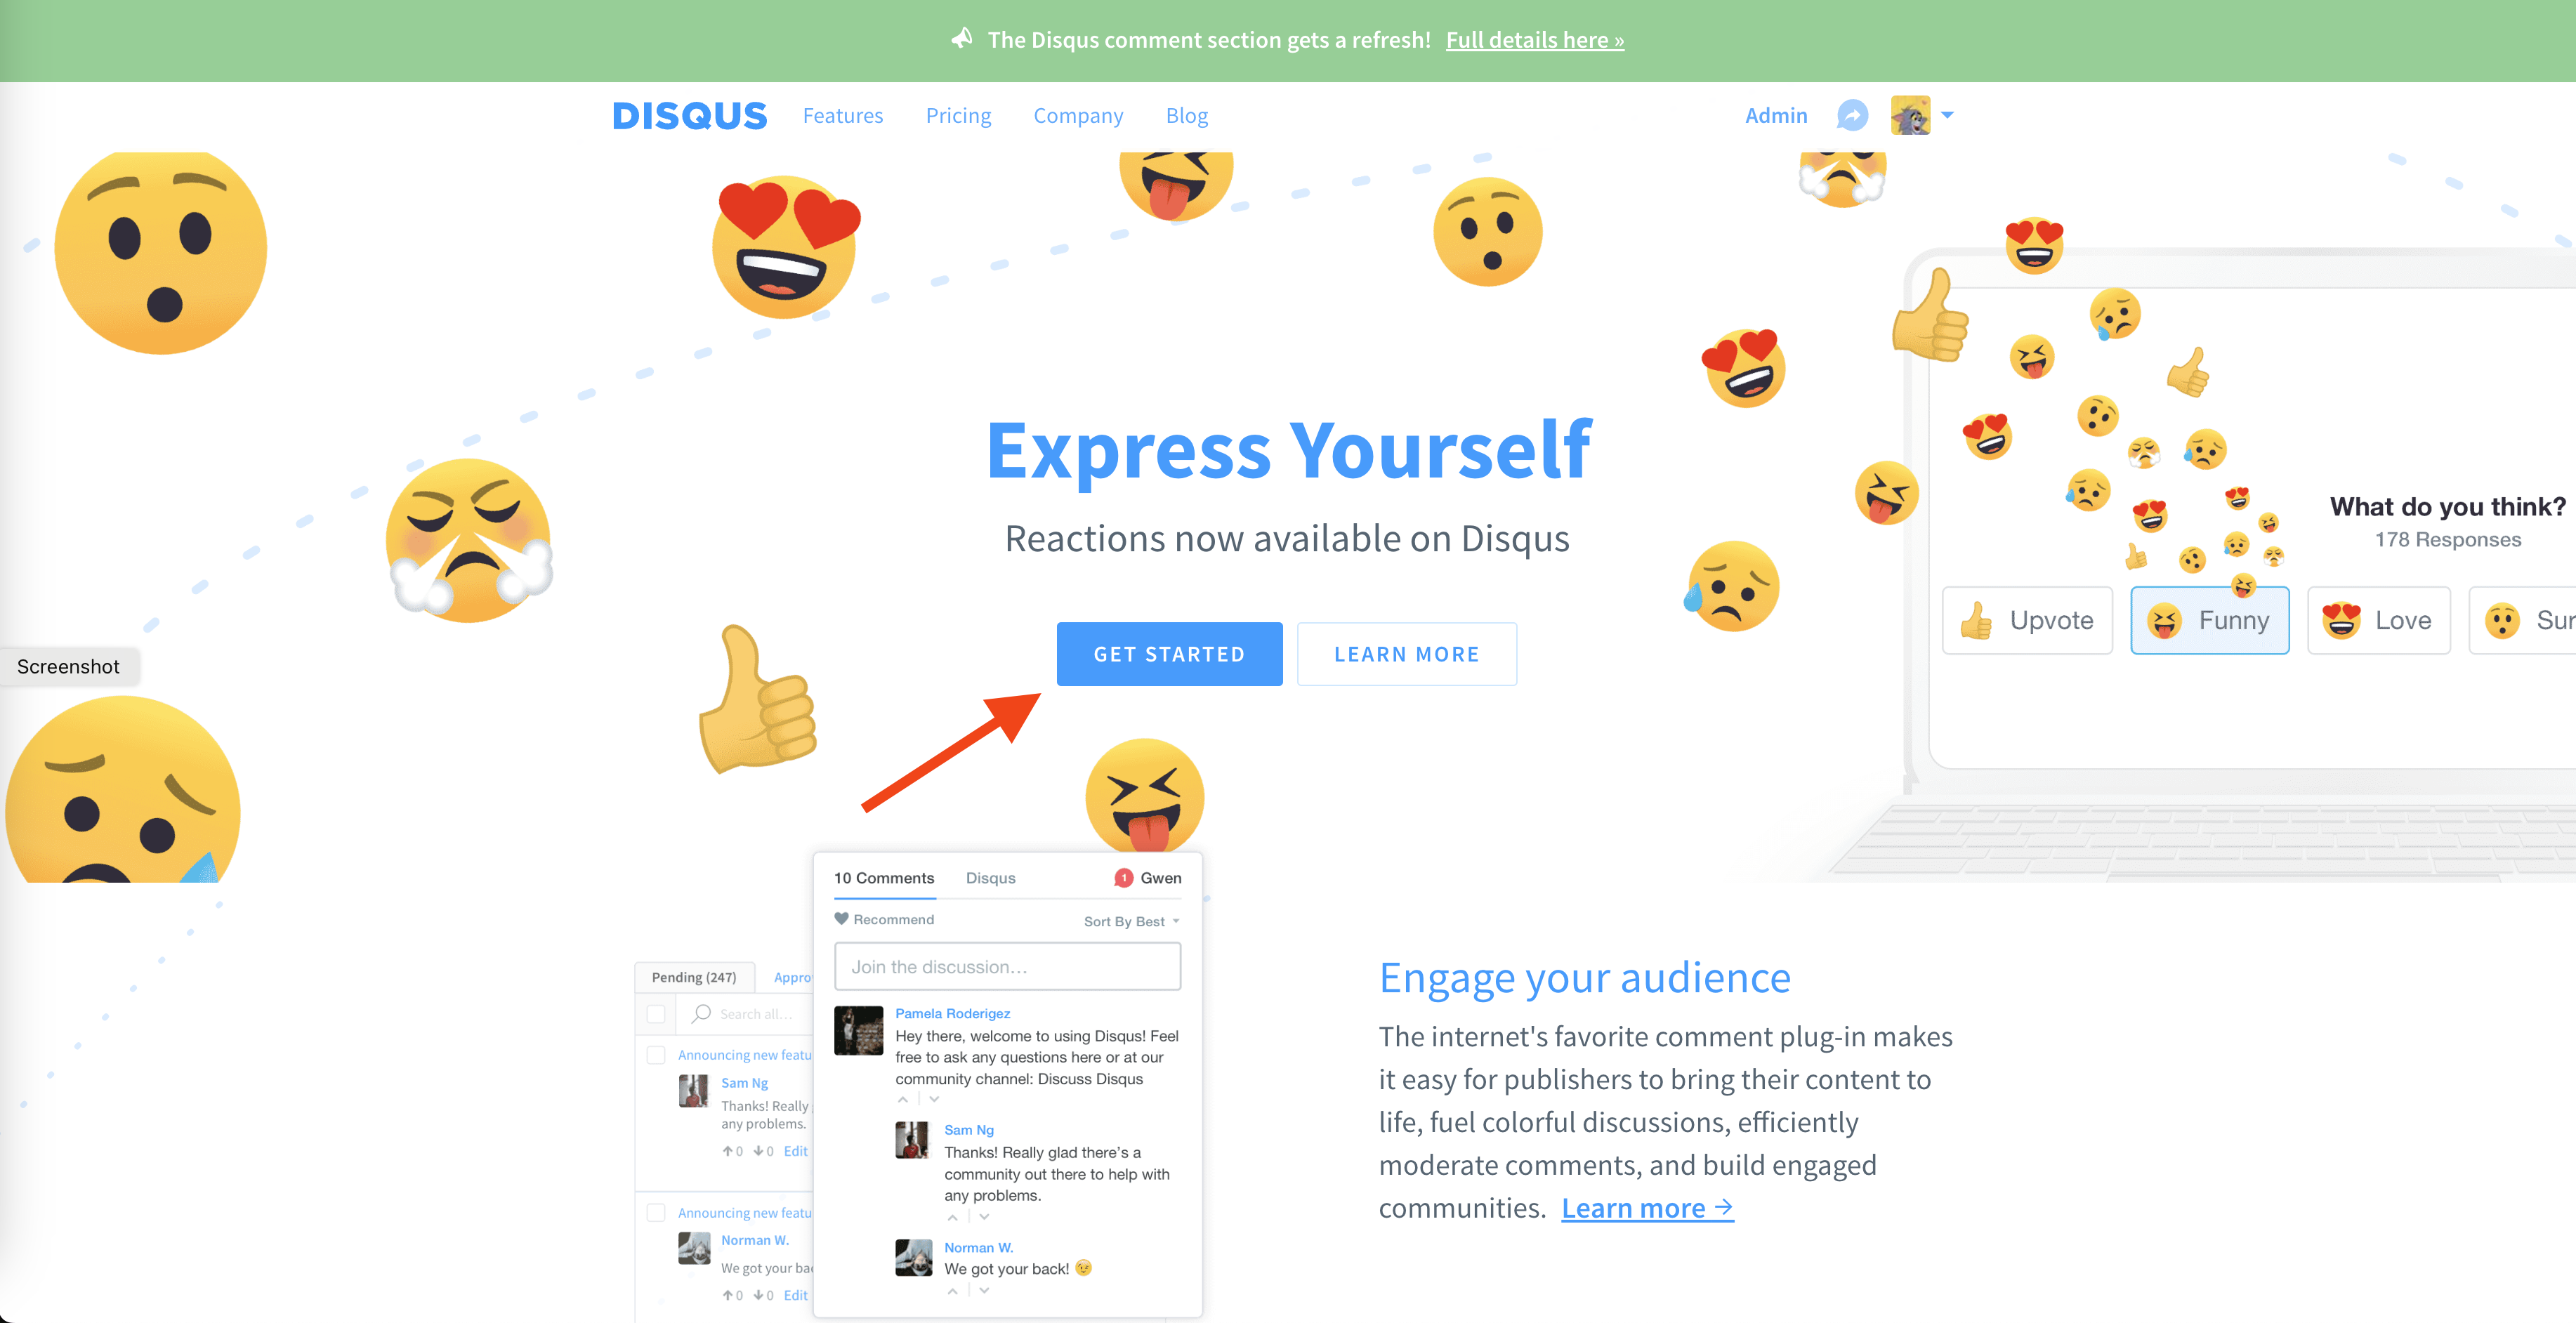
- Go to Disqus to register an account.
- Click Get Started
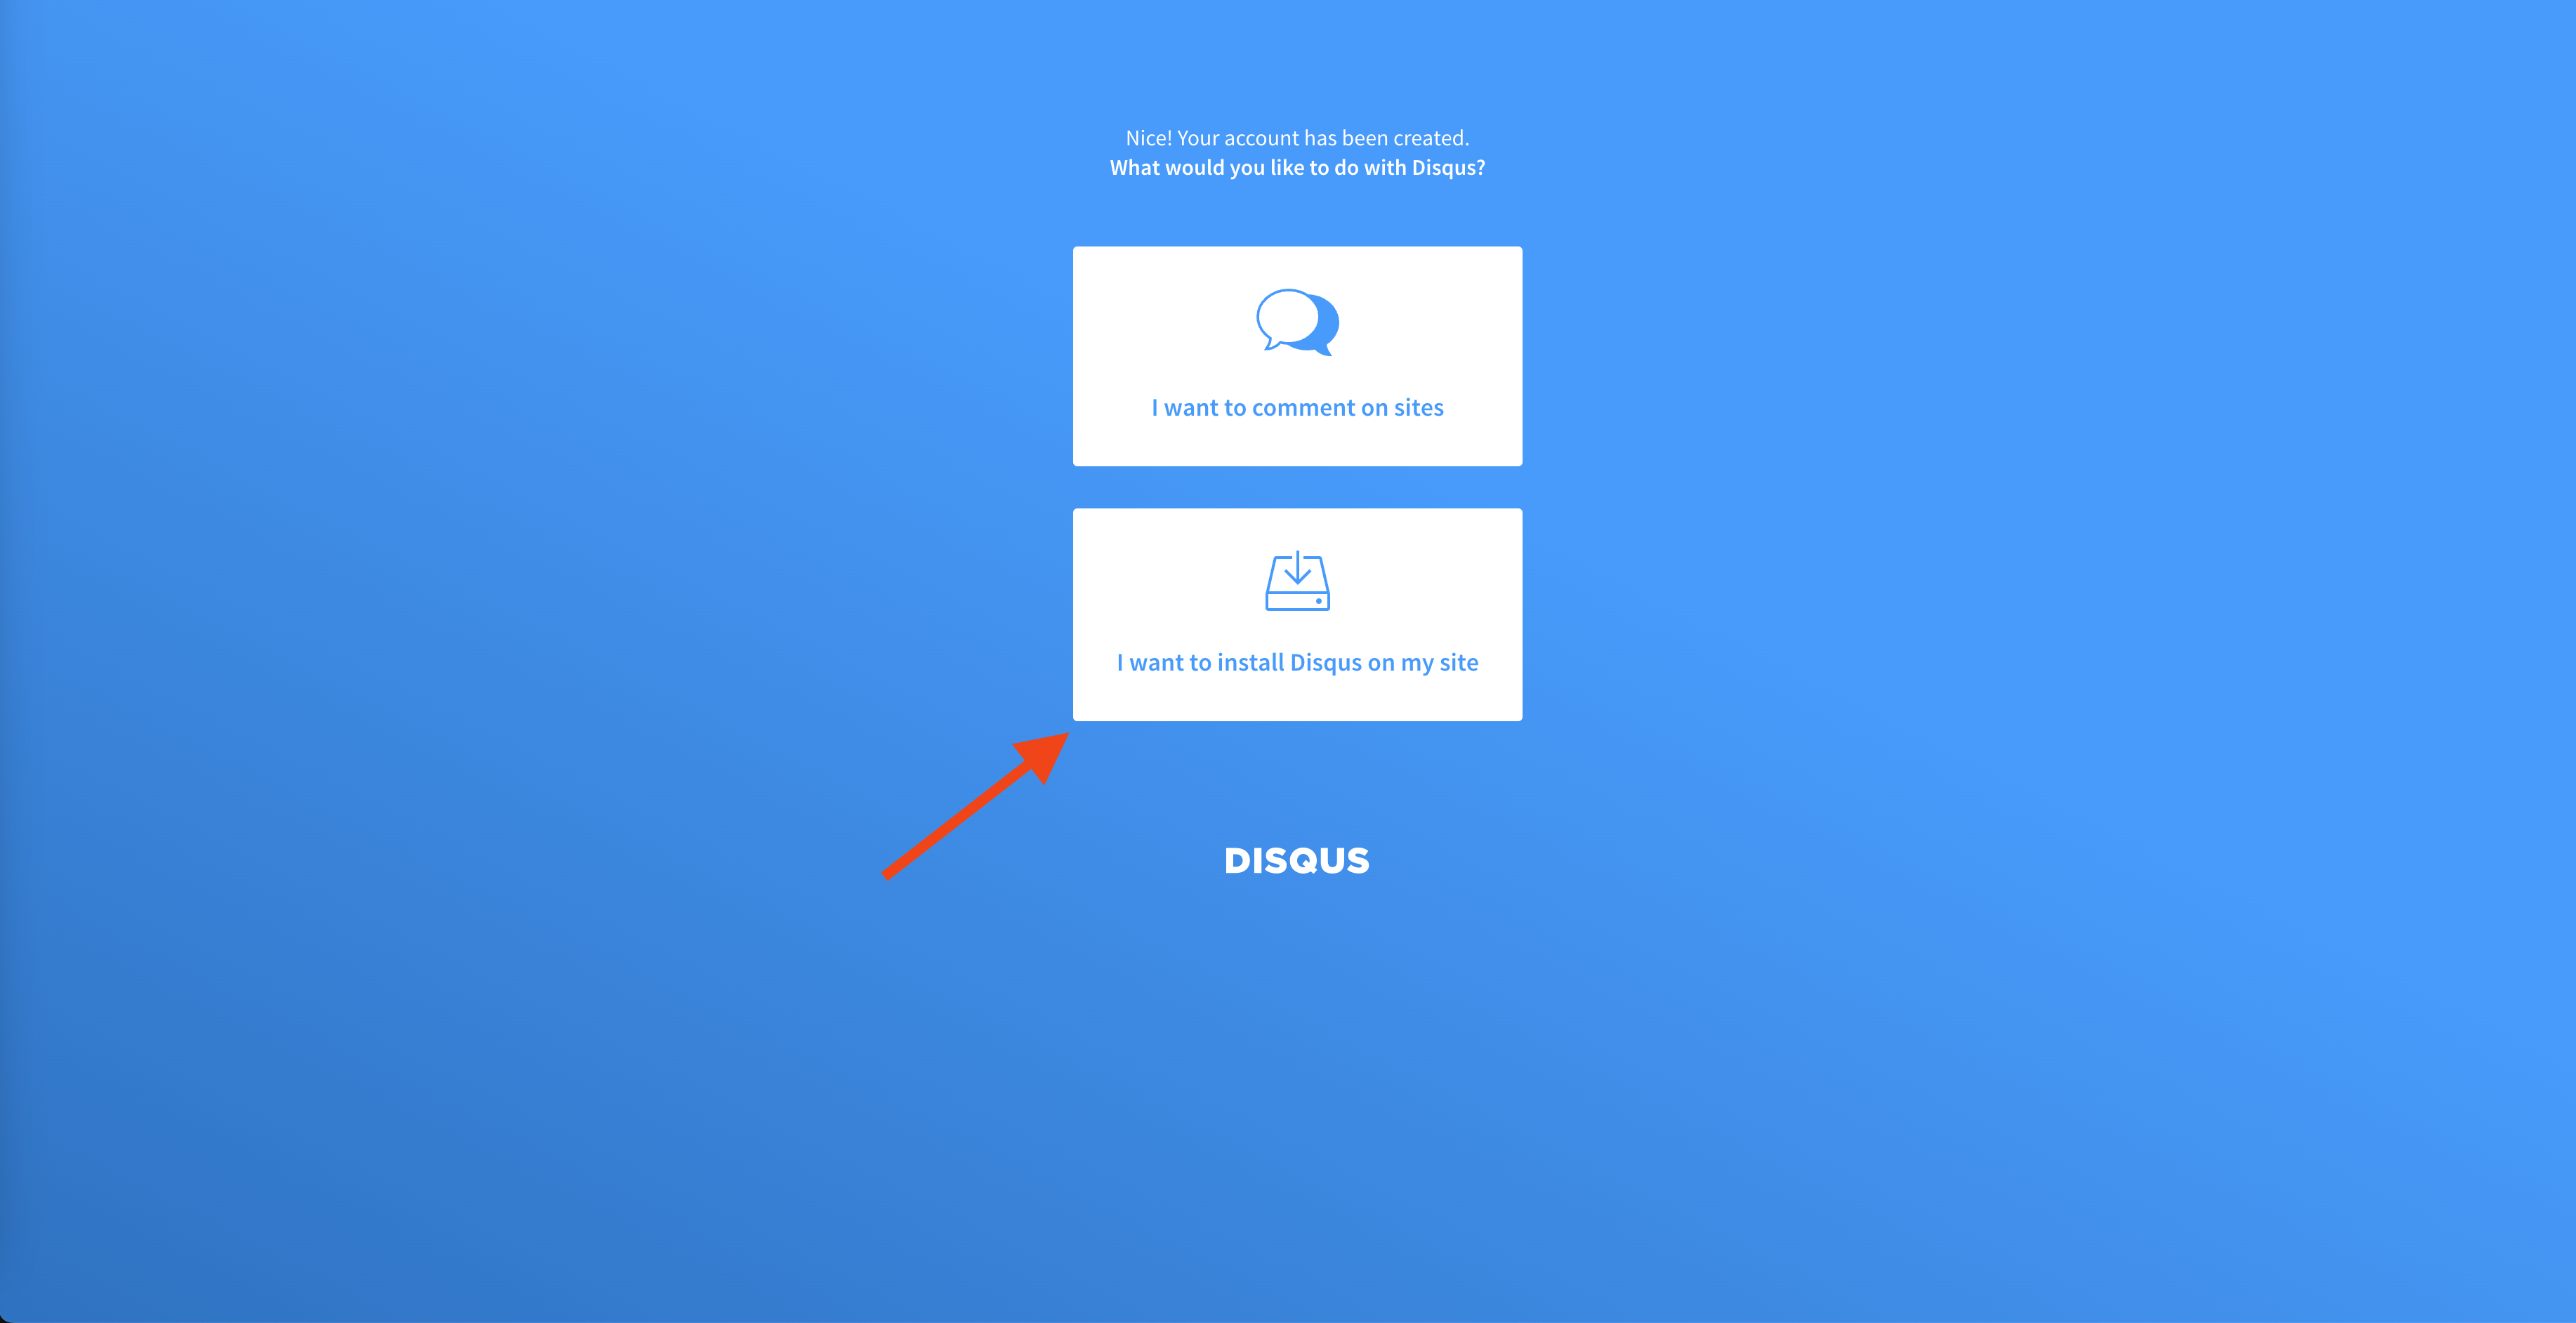
- I want to install Disqus on my site
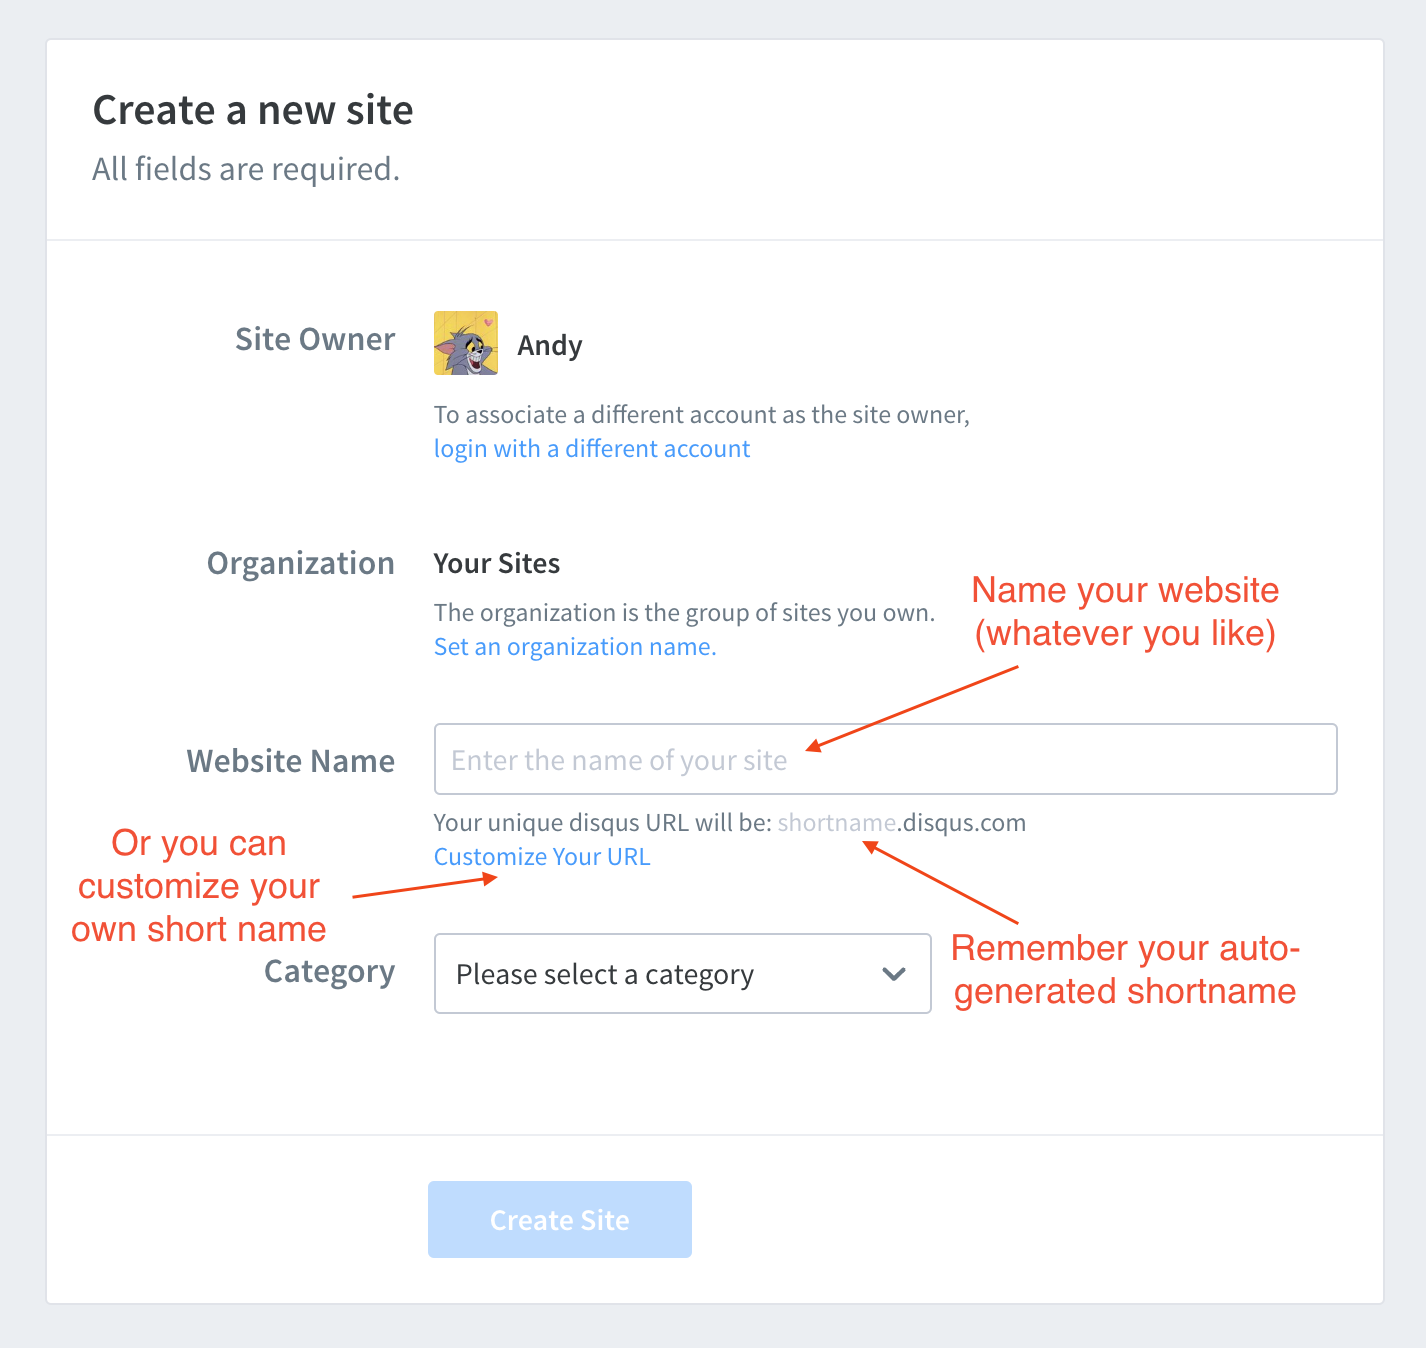
Enter your website name (whatever you like, it is like a nickname) and record the short name auto-generated below (or you can customize by yourself).
Choose your website category then click Create Site.
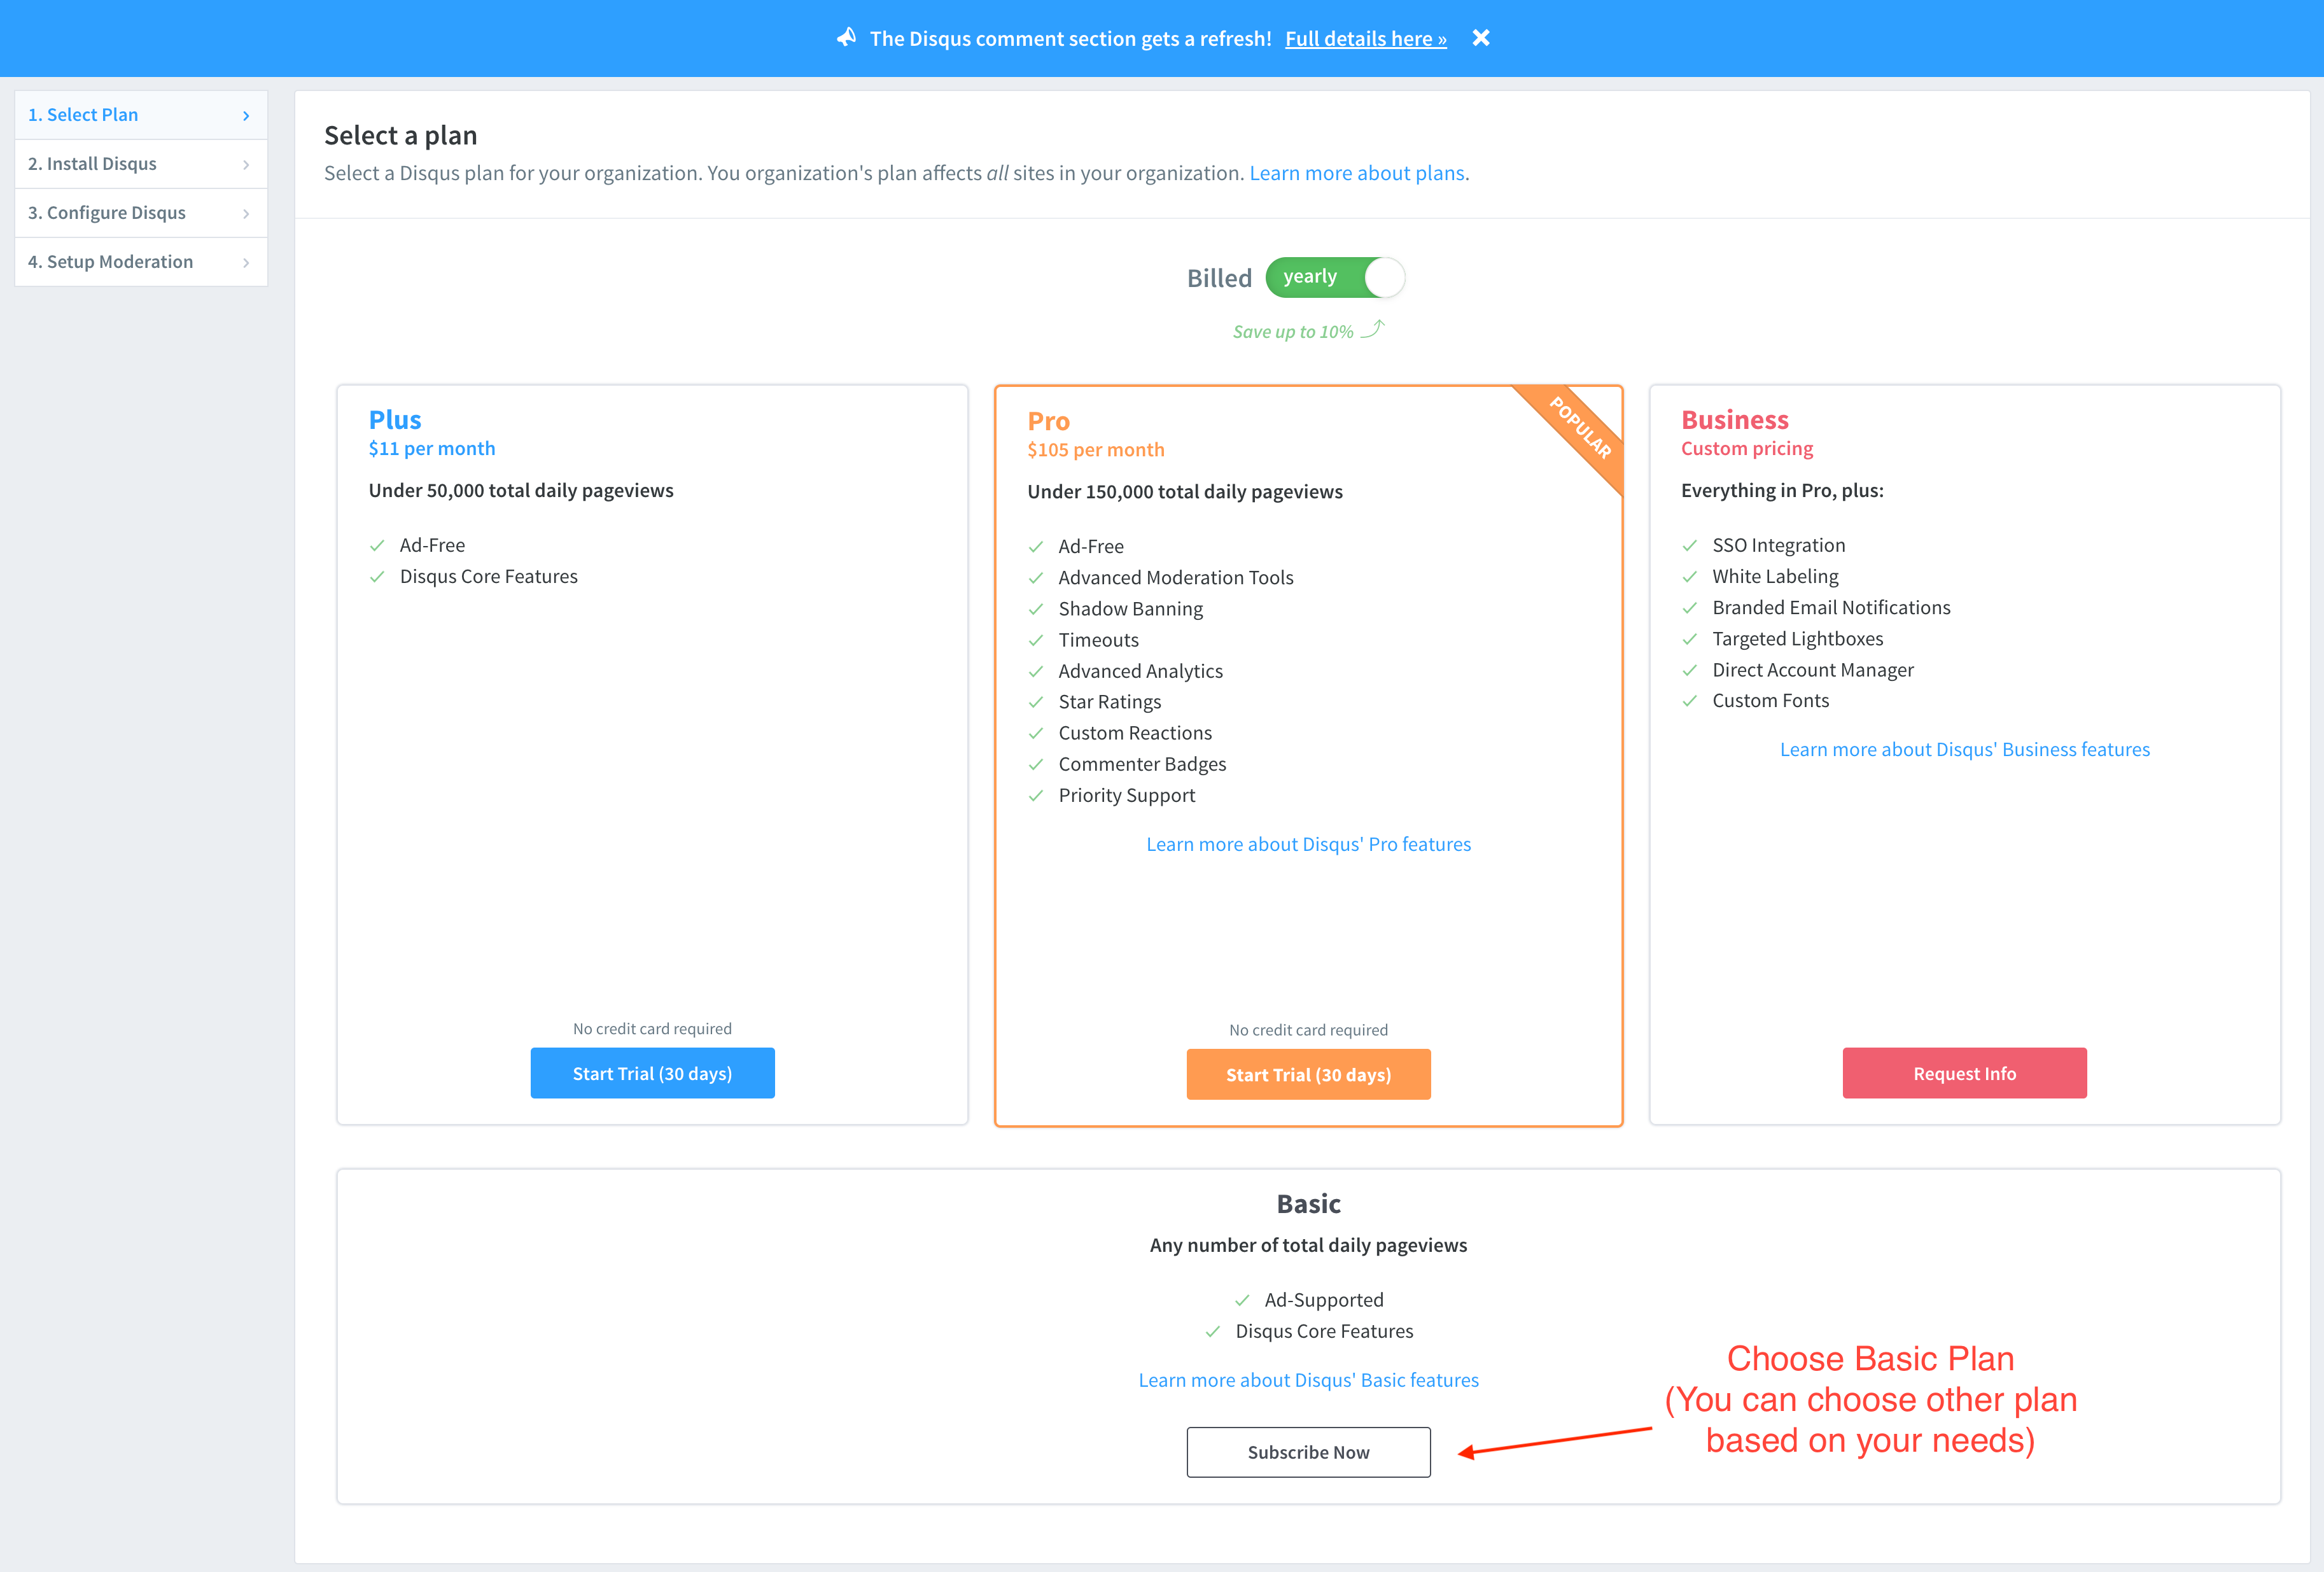
Select a plan.
Here I will choose Basic Plan, free and suitable for my needs currently. (Of course, you can choose a plan based on your needs) Click on Subscribe Now.
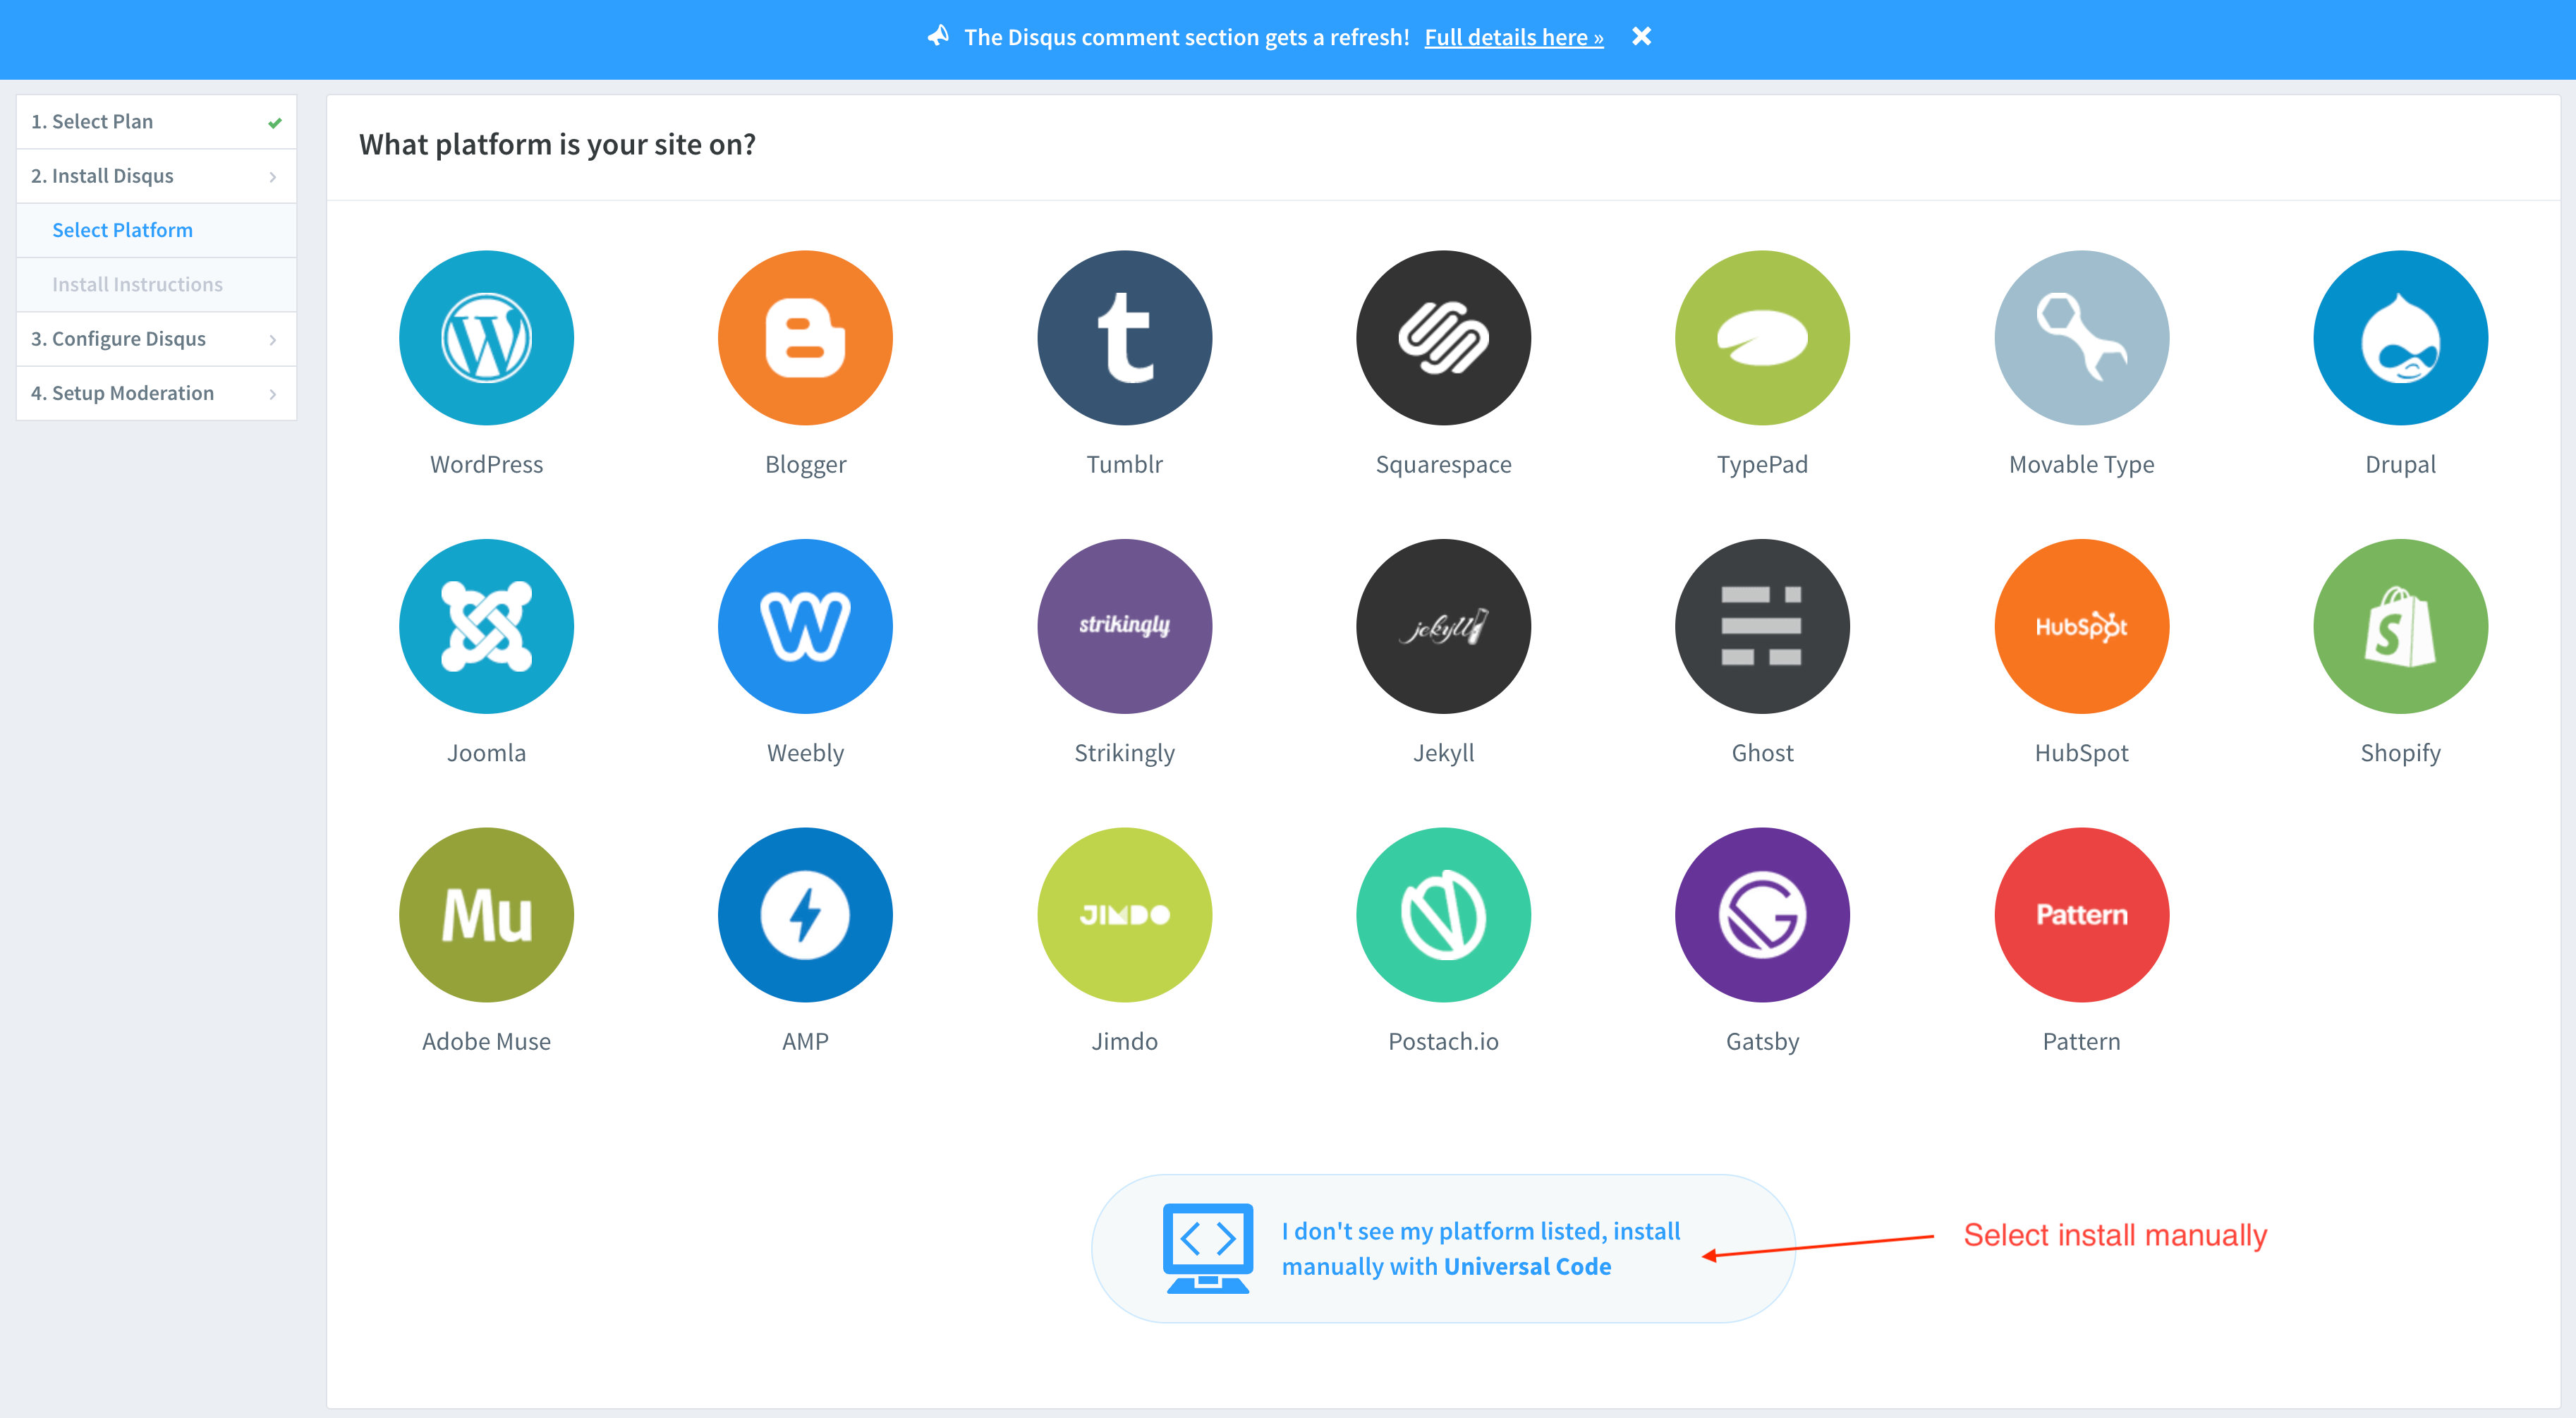
Choose platform.
Because we are installing the Disqus to Hexo which is not listed here. So we can choose to install manually with Universal Code
- You will be directed to the Install Instructions page and you can find the universal code below.
You need to change 2 things here, you can reference my examples and make changes based on your website.
- Change PAGE_URL and PAGE_IDENTIFIER.
- Change YourShortName to the name you record in Step 4.
1 | <div id="disqus_thread"></div> |
After modification, you can place this section of code where you’d like Disqus to display.
For example, I am using Hexo Theme Cupertino so I have placed this section of code into
themes/hexo-theme-cupertino/layout/post.ejs. At the bottom of the post.ejs file before the end of the article tag where I want Disqus can be displayed after the paginator.Also if you want to modify the size of the Disqus comment area, you can add a CSS file to modify it.
Disqus is set to fill 100% of the width of its parent HTML element and has no margin or padding set on its
<div>. This means Disqus often looks best when its parent container gives it some margin or padding. Additionally, the width of thedisqus_threadID can be adjusted using CSS.
post.ejs
1 | <%- css('css/disqus') %> <!-- Reference the CSS file used for Disqus --> |
disqus.css
1 | .disqus { |
What’s More?
If you want to display the total number of blog comments, you can add the code below to your website before the end of the body tag.
1 | // Change YourShortName to your short name recorded in Step 4 |
Reference
About this Post
This post is written by Andy, licensed under CC BY-NC 4.0.